Commission management from Ingenious.V12 provides automatic management and payment of commissions, for instance for field service employees. The agent of a contact will be identified in the column “Financial data / Classified” of the detail contact view.
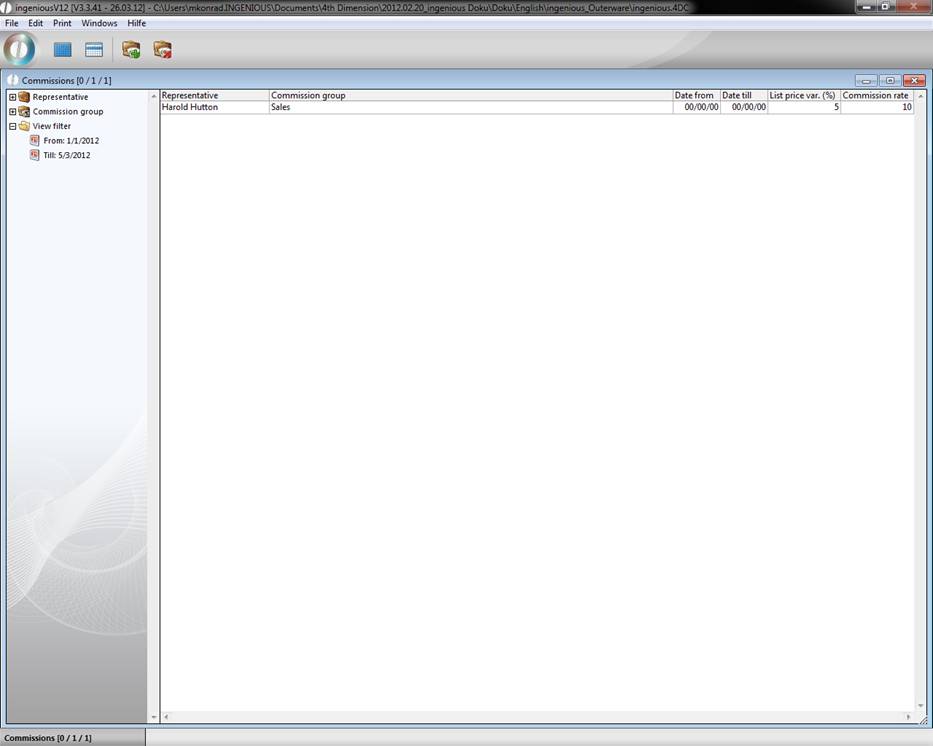
In the start view of commission management, you can select representatives according to name or to the commission group.
Practice with commission rates
Creating representatives
-
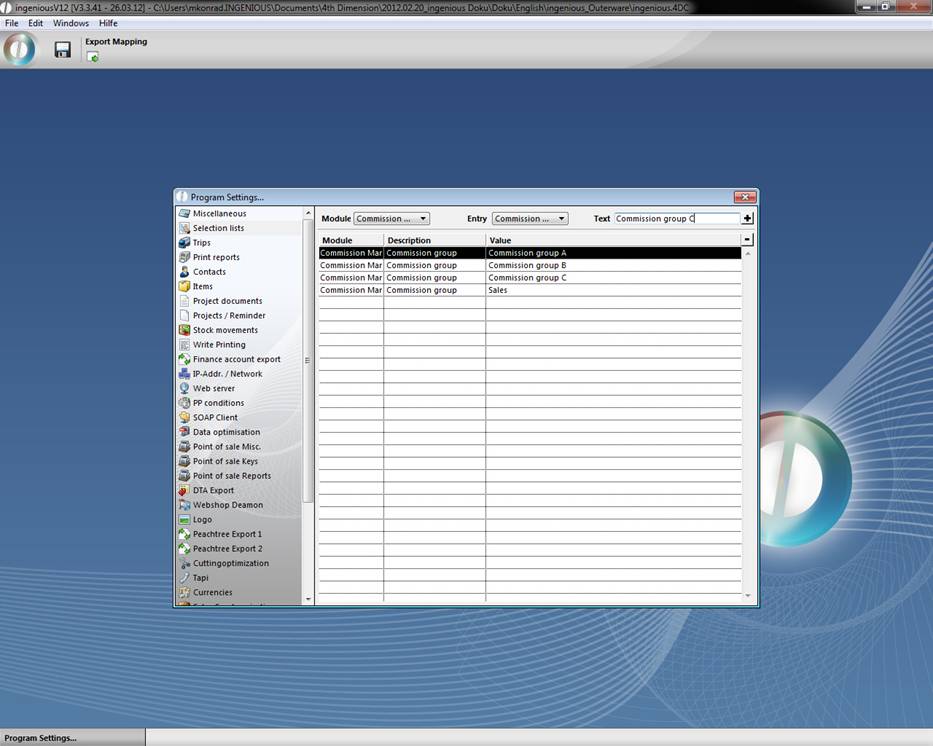
In order to determine an agent, you must first open the program settings, and then select the “Selection lists” area. Now in the pop-up field
“Module” select the “Customer” field and select the menu item “Representative” in the “Entry” pop-up field.
All stored agents will appear in the table view.

-
Enter your representative in the “Text field” (in this example it is “James Happy”) and click on the button in order to insert the entry in the pop-up menu.

Create commission group
To create a commission group, the column “Selection lists” will also be activated in the program settings.
-
From the pop-up field “Module” select the entry “Product catalog” and from the pop-up field “Entry” select the menu item “Commission group”.
-
In the “Text” field, enter your commission group (in this example it is commission group A, B and C) and add this entry to the list with the help of the button.
Create commission rate
-
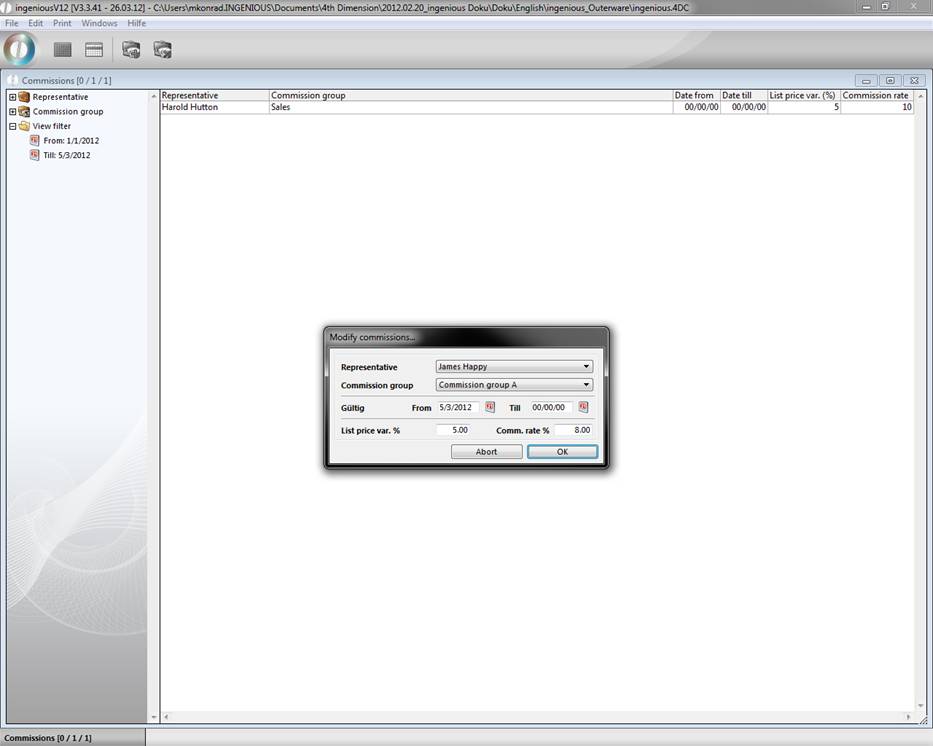
You are again in commission management and would like to generate a new commission rate. Click on the button.
-
The following window opens in which you enter the data analogous to the photo and confirm with “OK”.
Change a commission rate and delete
In order to change an already existing commission rate you:
-
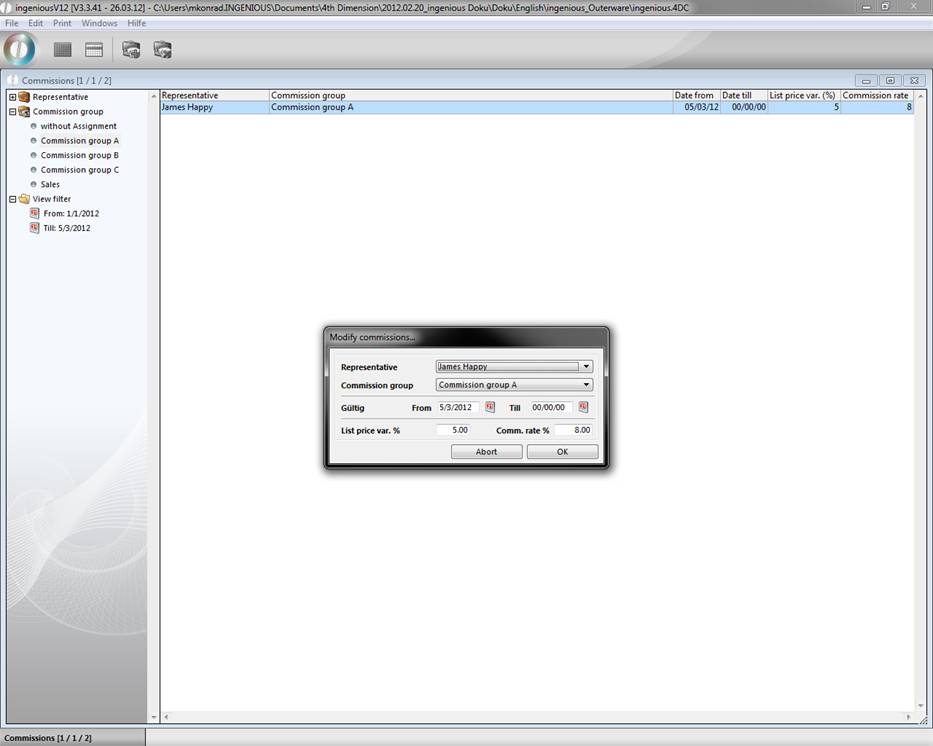
Open the “Commission group” folder and select the entry “Provision group A” folder.
-
Double click on the commission rate “James Happy” just created.
-
Change the value of any commission rate and confirm the change with “OK”.
In order to delete a no longer needed commission rate for “James Happy” in this exercise, select the corresponding entry with a mouse click and click on the ![]() button.
button.
Print commission rate
You also have the possibility to print the commission rates.
-
In order to do this, select the entry “Print/Commission management – commission rates” in the main menu.

-
Hit the desired settings in the print dialogue window and confirm with the “OK” button. The printout occurs within seconds.
Commission statement
In order to calculate the commission of your representatives i.e. at the end of the month, proceed as follows.
-
Select the workflow module “Invoices” and click in the main menu on the menu item “Printing / Invoicing - commission summery”.
-
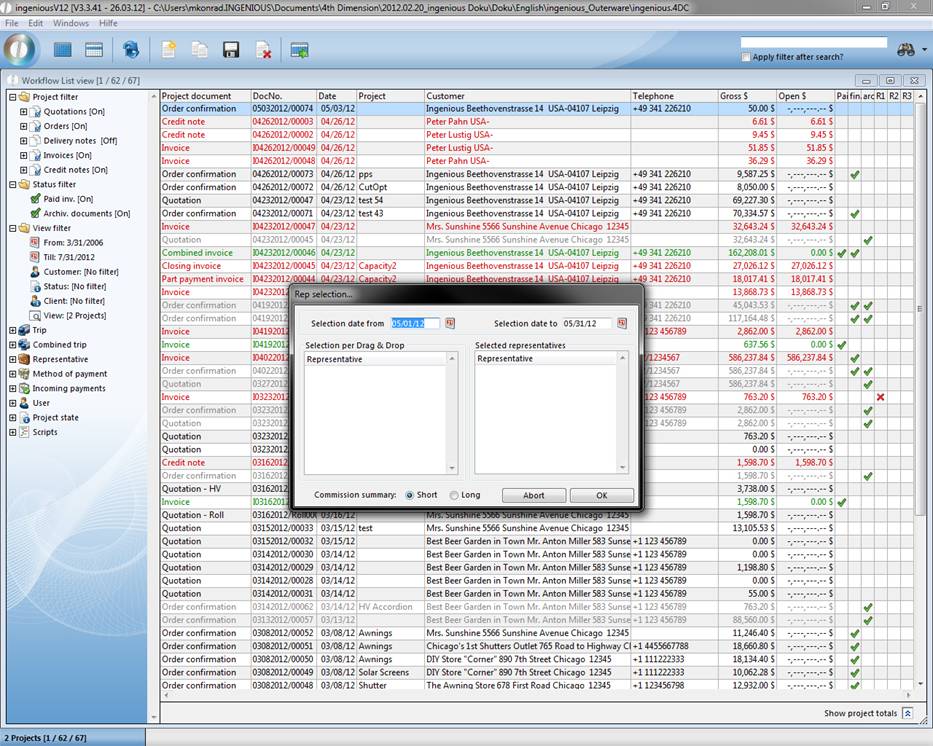
After the standard print window (the options “show print preview” and “show print dialogue” can be activated at will), another window appears for the selection of the representatives and the time frame for which the commission calculation should be set.
-
Now in the fields “Selected date from” or “Select date to”, you must provide a time span for the commission statement. Alternatively, you can also use the buttons. Behind them a calendar is hidden with which the input of the date is possible. If the commissions must be paid in the set time span, the corresponding representatives appear in the left field “Representative”.
-
Pull the desired representative using Drag & Drop (also click the representative with your mouse and drag it while pressing the mouse) in the representative field of the area “Representative will be selected”.

-
In the lower part of the window, you still have the possibility to choose between a “shorter” and “longer” commission statement.
The difference exists in the fact that on the “long” commission statement, every order with the single articles and article prices is performed. With the “short” statement, only the sum of the projects is shown in tabular form.
-
Depending on whether you marked the options “Show print preview” or “Show print dialogue”, follow these windows. If you have selected none of these options, the printing of the commission statement occurs for the selected representative.
Attention! Only article commissions that are also assigned to a commission group are calculated! For articles that have no commission group assigned, the representative also receives no commission payment. The allocation of a commission group to an article occurs in the pop-up field “Commission group” in the “Parameter” area of the detail view of an article.
So far the commission was calculated by the following model:
- Catalog price variance based on the customers individual special price
- Selection of the rate of commission by means of the representative, the commission group bind to the item and the catalog price variance
- Calculation of the commission with the rate of commission and the final price of the item
A new category was added to the program settings, where you can modify this calculation. For the calculation of the catalog price variance you can choose between the list price assigned to the item and the special price assigned to the contact.
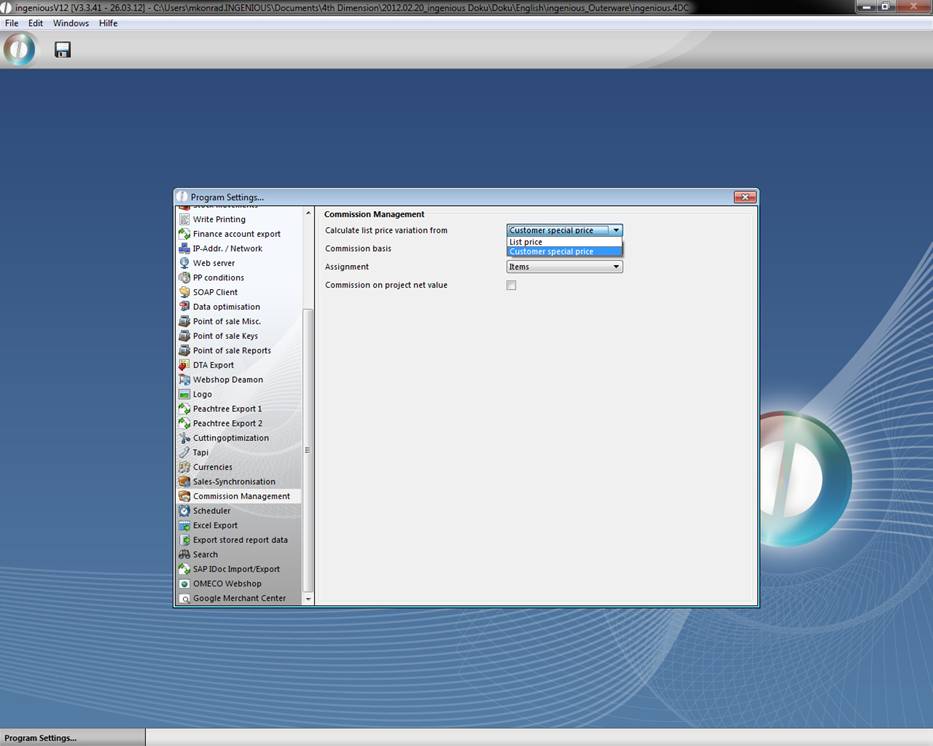
The basis of commission can be the list price, the individual customer special price or the actual final price.

If you want to keep the usual calculation, you have to make the following settings:
- Calculate the list price variance from the individual customer special price
- Commission basis is the final price
These settings are set by default, when you update to the new version.
Definition:
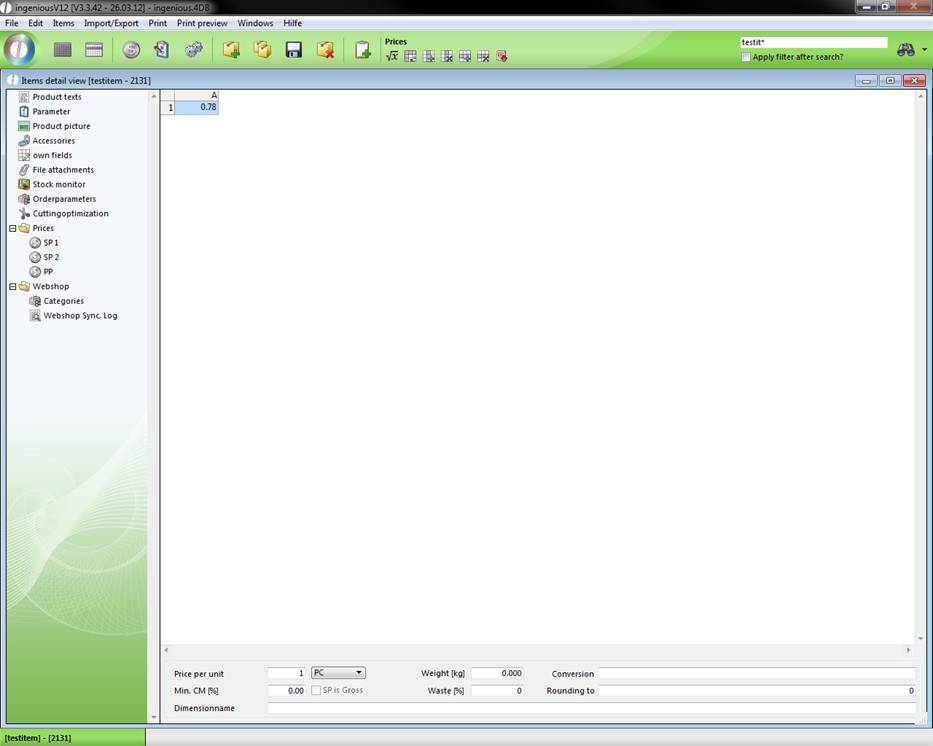
Example list price
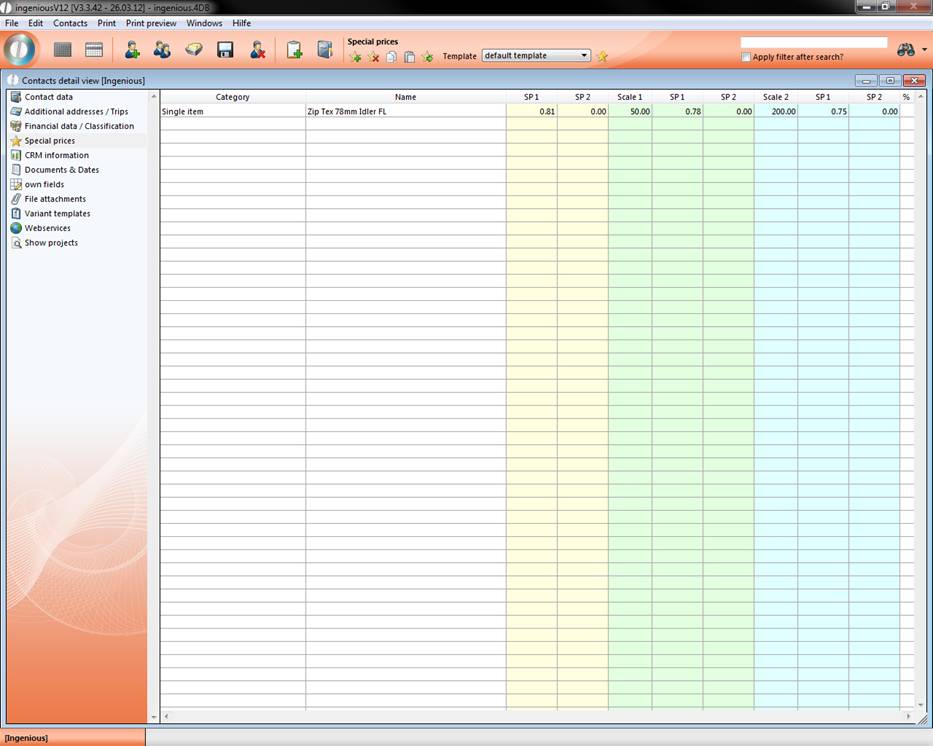
Example individual customer special price
Example final price
A customizable print report PrintG_Provisionsabrechnung_KOW was created, that you can create in the program settings. It will output the modified commission summary.

To be able to use the print report, you have to enable the corresponding report right.
In the new report also the rebate positions are regarded.